Routing
Definition of routes for pedestrian flows#
In this tutorial you will learn how to define routes for JuPedSim agents. You will get to know the different routing strategies that are running implicitly (SUMO routing and JuPedSim routing) and how this should be considered when defining routes for JuPedSim agents.
The starting point for this scenario is the result of this tutorial with various walkable areas. The resulting configurations files from this tutorial can be found here.
Note
We changed the spacing of the vehicle flow attributes to “Poisson” to configure the traffic more realistic. The Poisson distribution serves as a theoretical baseline for modeling traffic arrivals under free-flow conditions, where vehicles arrive approximately independently at a constant average rate.
Background#
Routes of JuPedSim agents are defined by a series of stages that need to be reached/passed by the agents – so called journeys. For a simulation scenario, different journeys can be defined which can (re)use the same stages. Each journey usually ends with an exit where the agents are removed from the simulation scenario. Between the stages of a journey, the agents choose the shortest path. You can find more information on JuPedSim's routing concept here.
Please note that not all functionalities of JuPedSim regarding the stages can be configured in SUMO-JuPedSim, such as waiting areas/positions. However, the concept of waiting areas is implicitly used at crossings, when agents need to wait at traffic lights.
Definition of routes in walkable areas#
JuPedSim’s waypoints of the pedestrian journey are defined by a series of SUMO edges. Netedit allows to define specific mini edges which can be used in 2D areas. In this way, SUMO’s routing concept can be utilized for JuPedSim.
We extend the given scenario with two mini edges. In the Network supermode, enable the Edge mode. Define one edge for the source of the pedestrian flow and add another edge as an intermediate waypoint. Make sure that pedestrians are allowed on the defined edges.
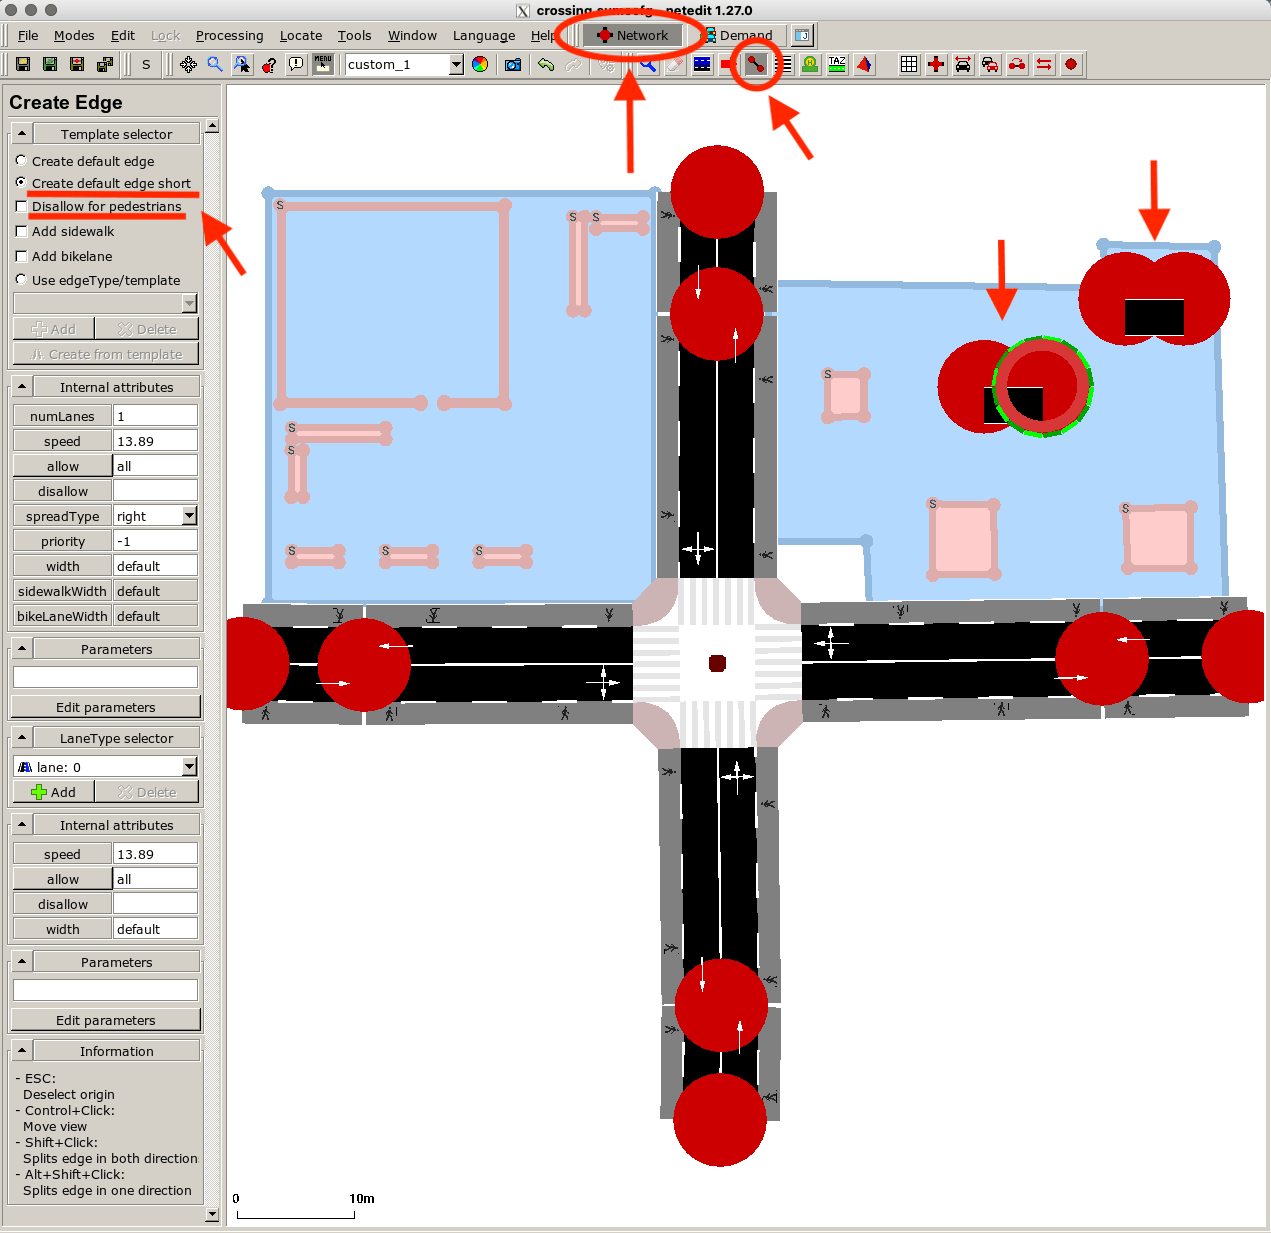
These edges do not need to be connected in the network as they are reachable via the walkable area. This is why you must enable "ignore routing errors" in the SUMO options.
For better visualization and easier handling in netedit, you can reduce the size of junctions. Click on the colorwheel icon and adapt the size of the junctions according to your preference.

Let’s create a source for pedestrians in the top-right area, let them pass through the intermediate waypoint/edge, and walk to a SUMO edge. In Demand supermode, create a person flow between the two just defined edges.
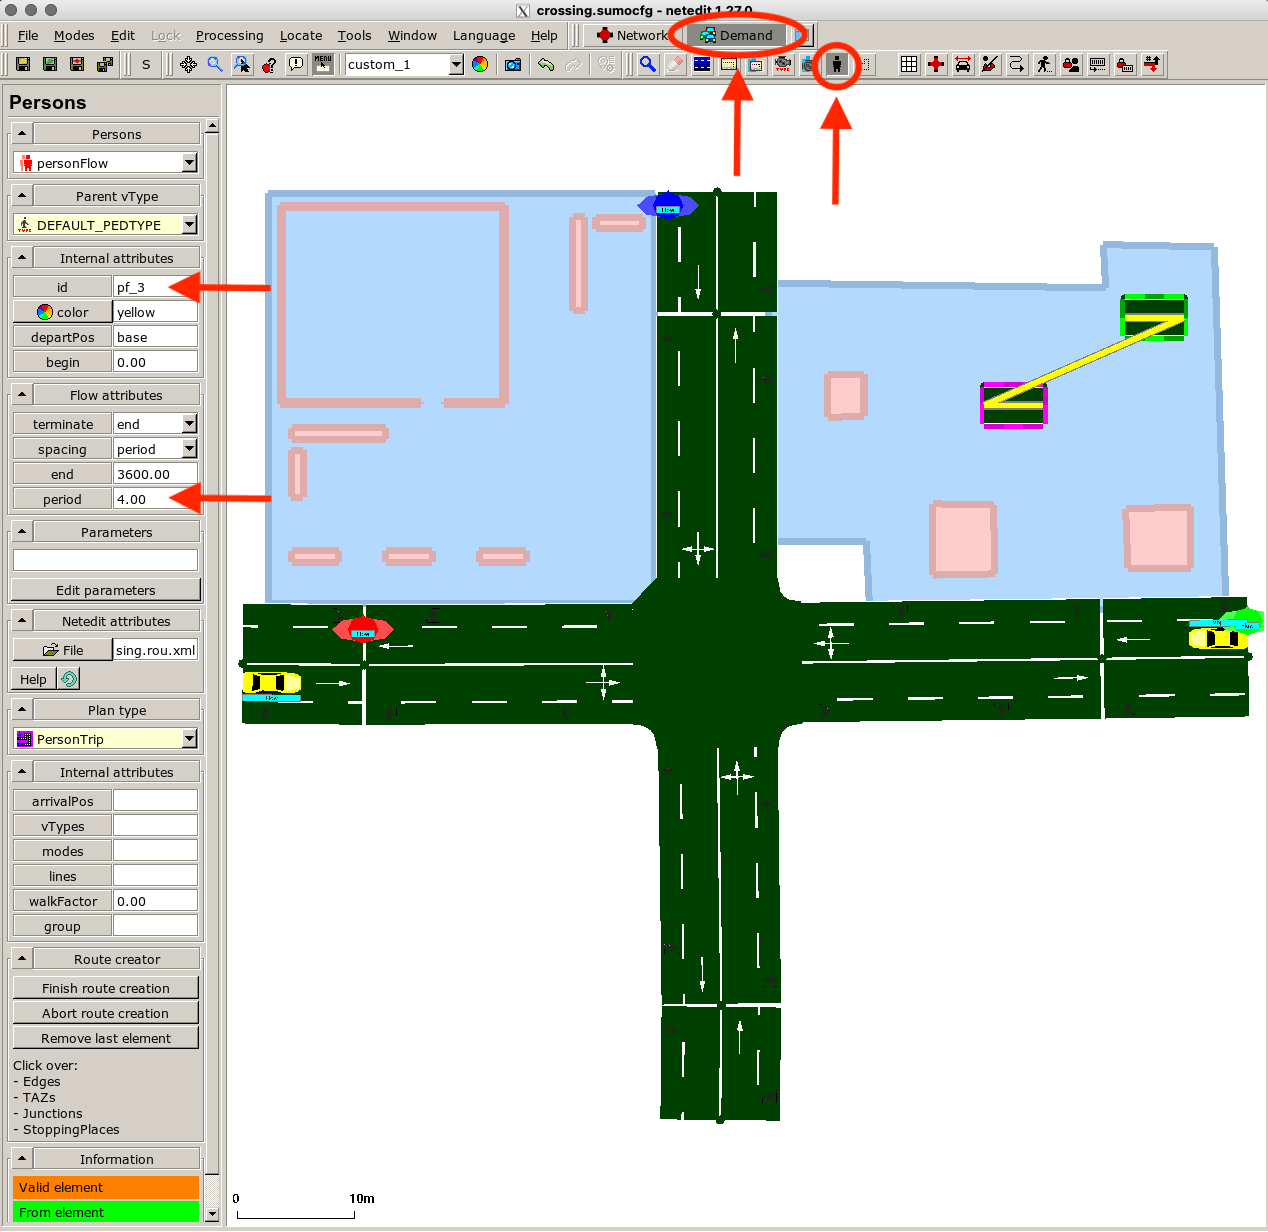
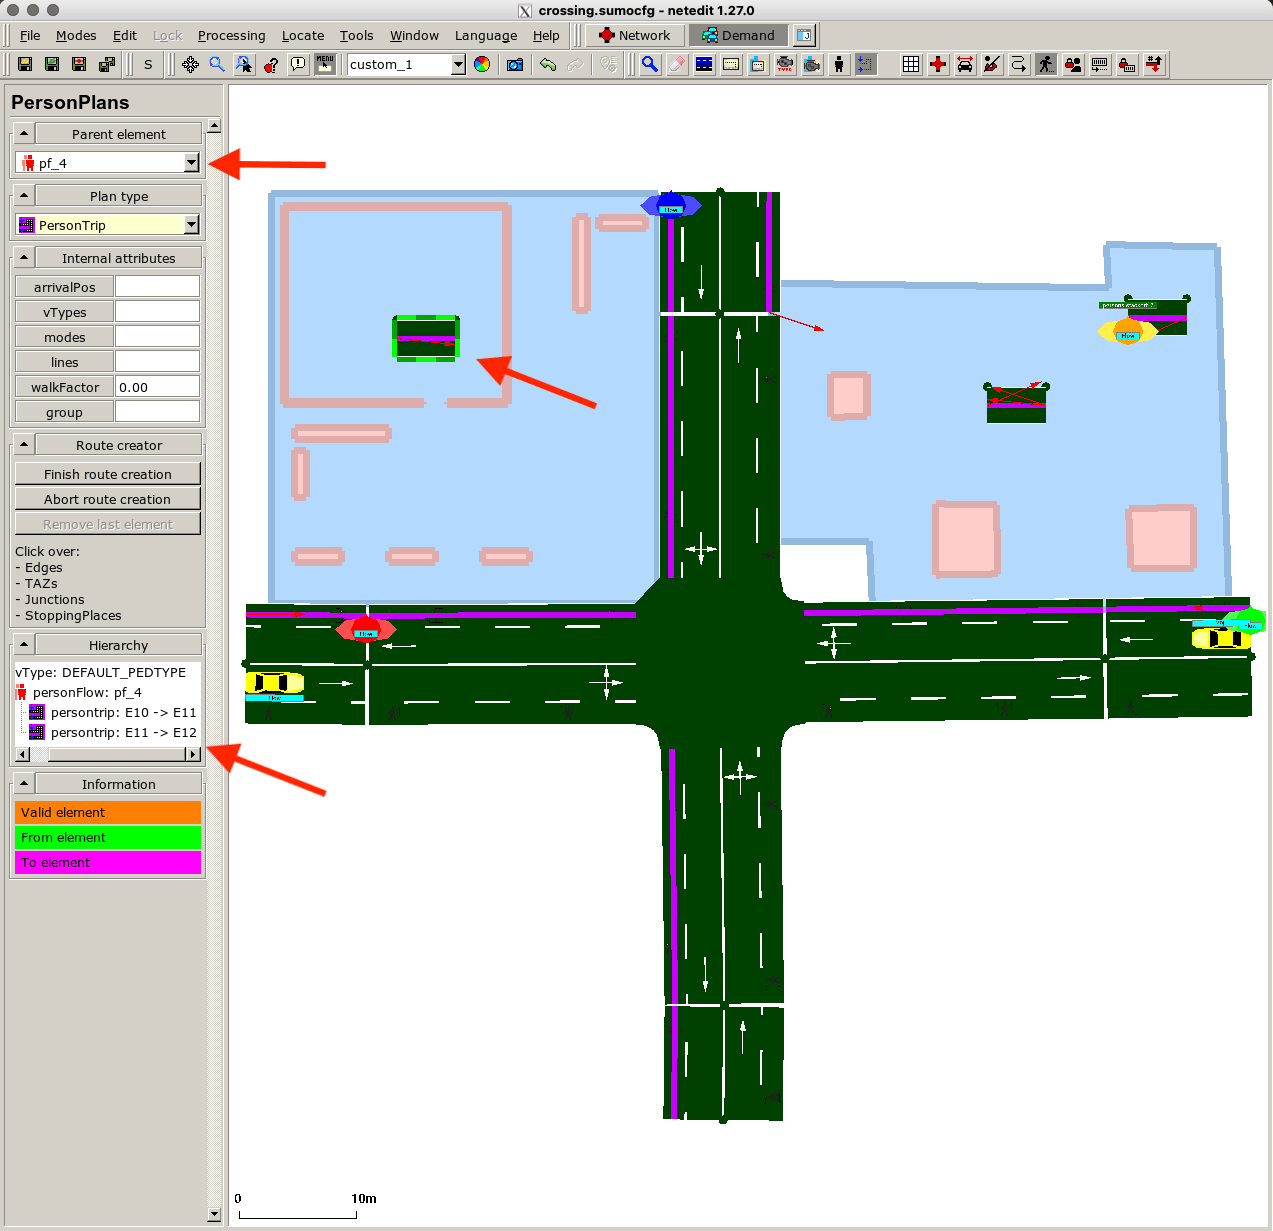
In this example we spawn one agent every four seconds. To continue the journey of this flow we switch to Person plan mode. Choose the just defined flow (pf_3) in the menu. Click on the end edge of the just defined person trip and then on a near SUMO edge to connect it to the final goal.
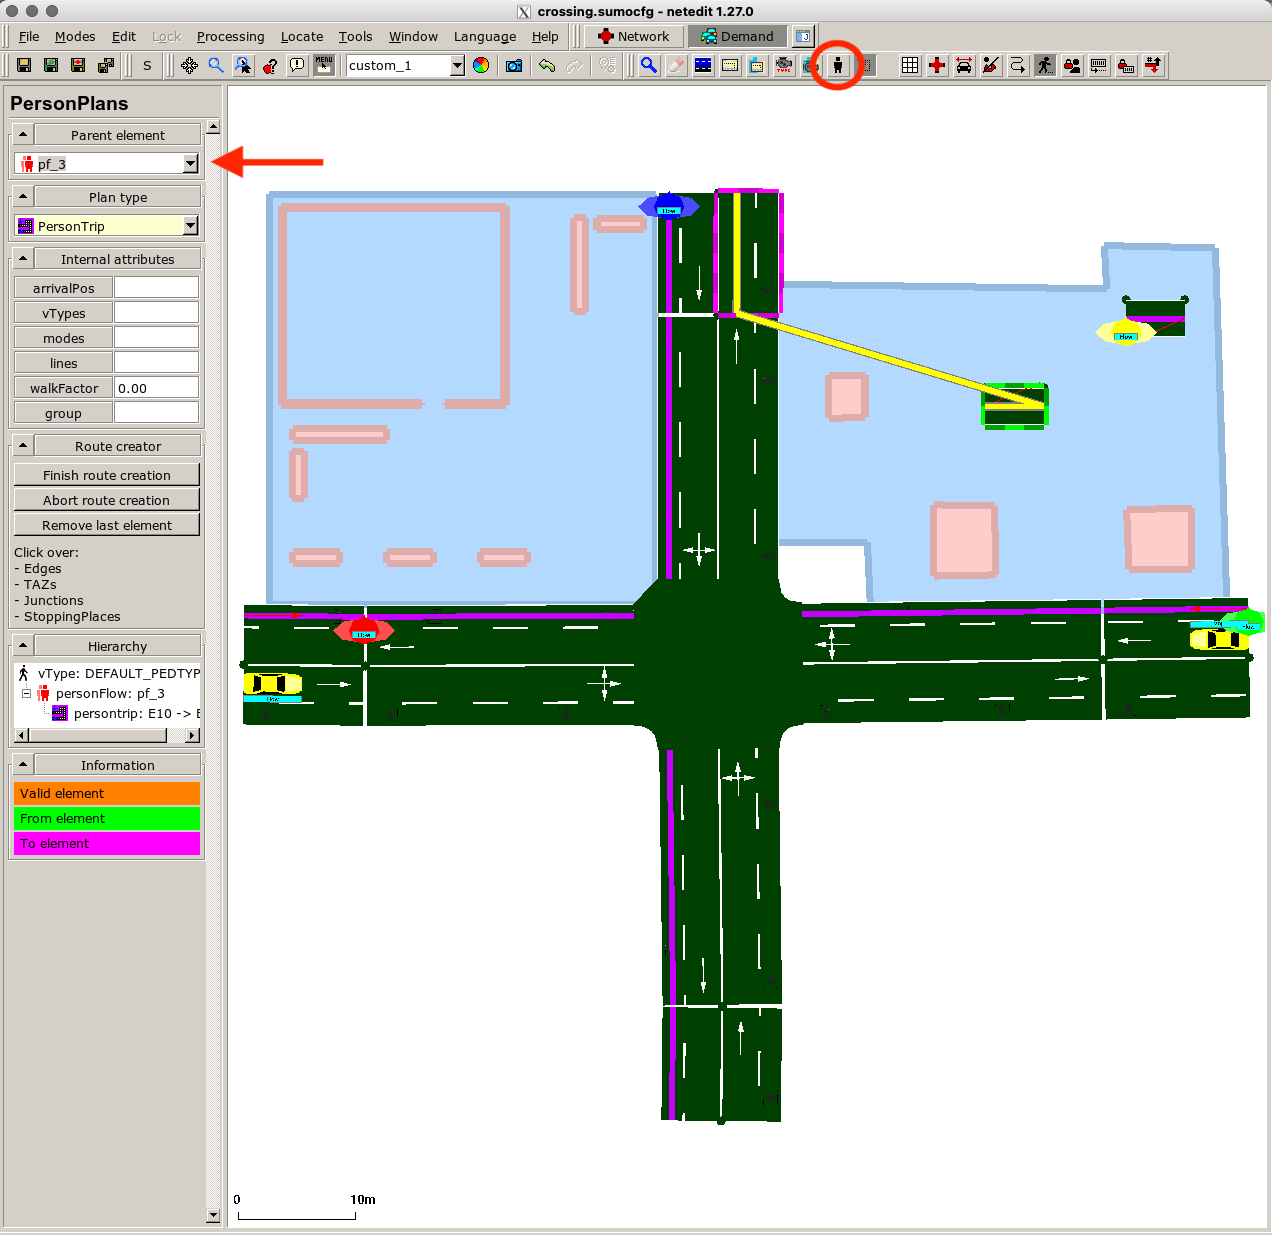
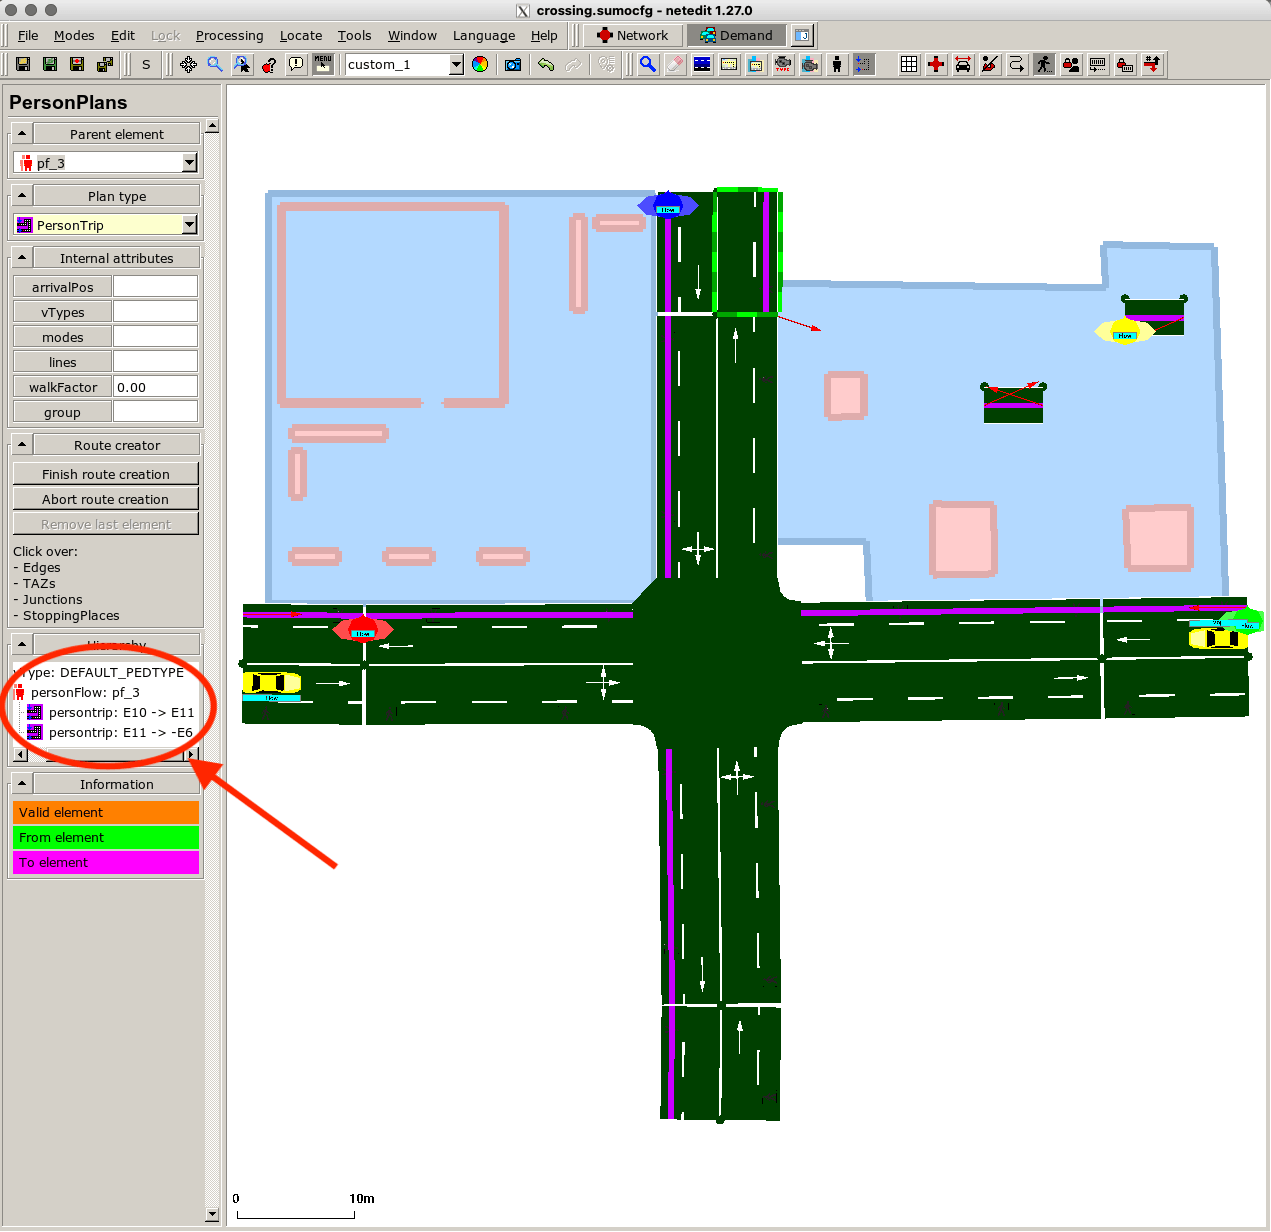
Press Enter to create the person trip. The resulting configuration in netedit should look as shown in the following picture. You can see a list of the connected person trips in the left menu. Make sure to always connect the edges and not the junctions. All person trip elements in the list should start with an "E".
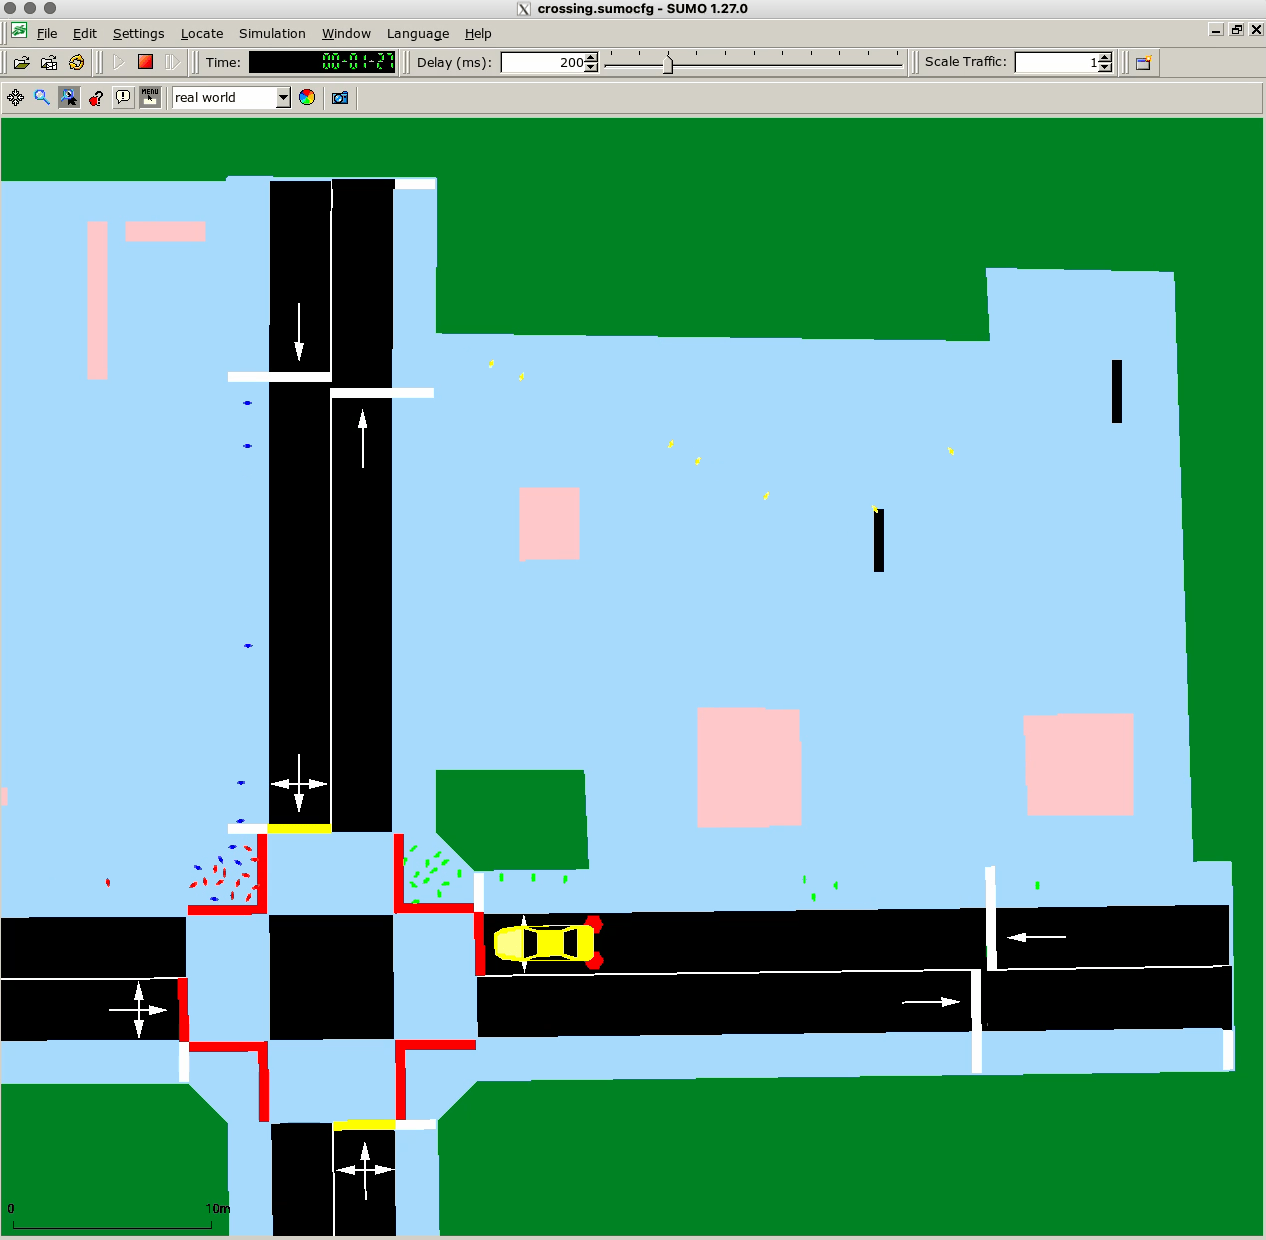
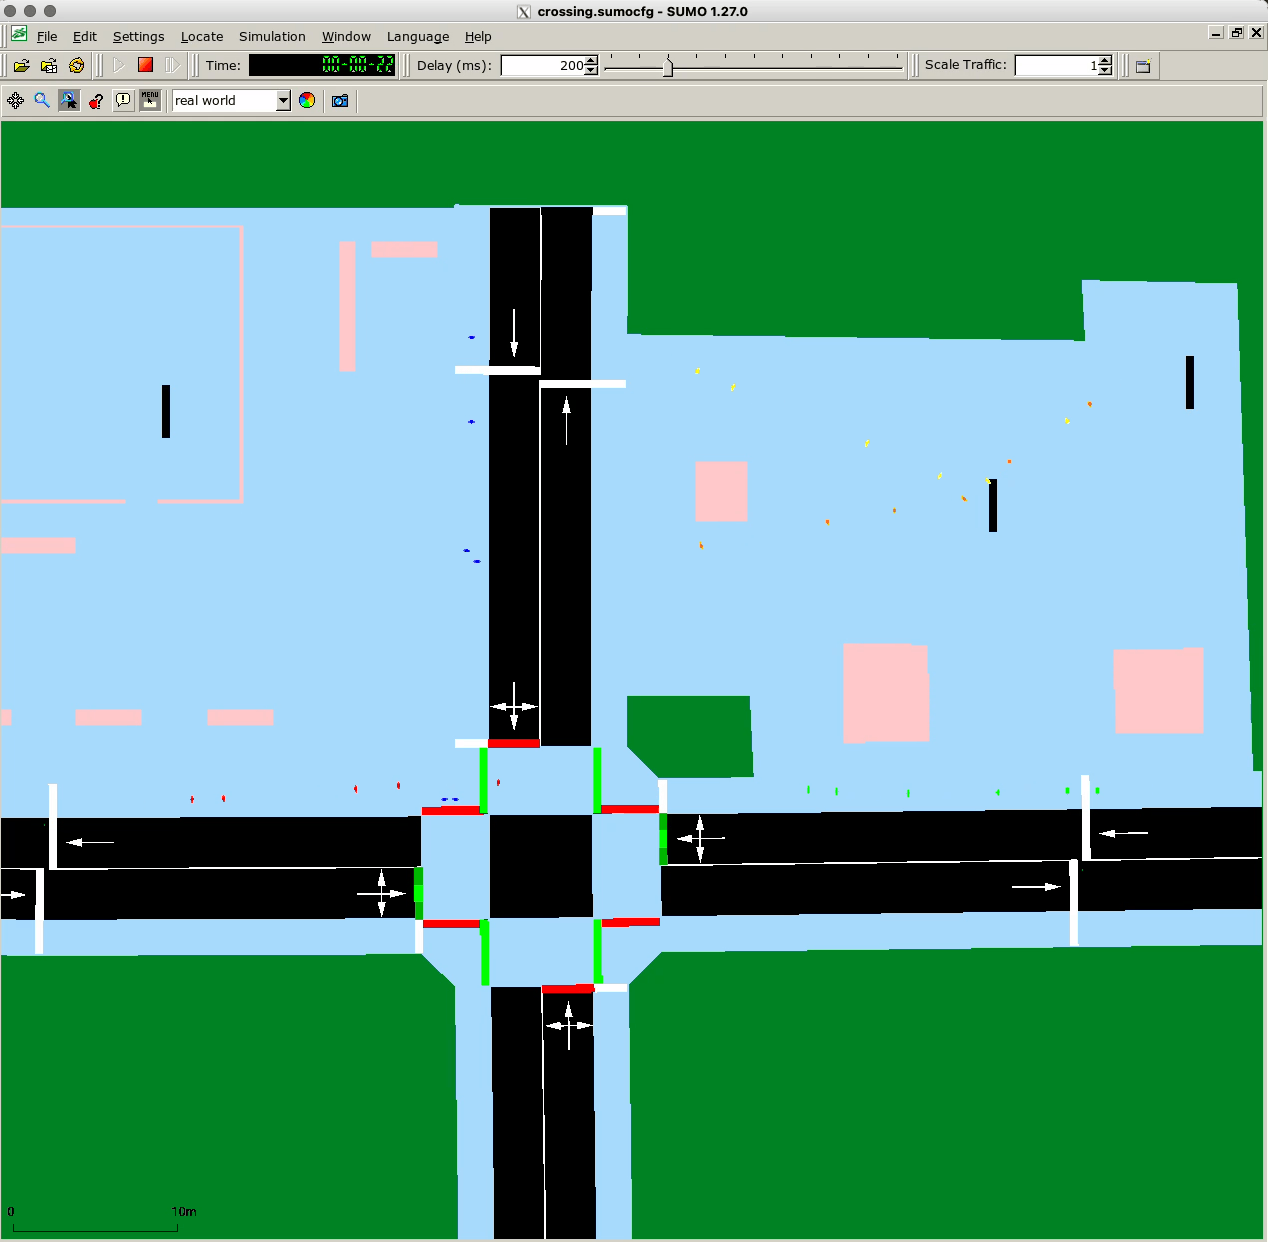
If you open the scenario with sumo-gui, you should see that the JuPedSim agents target one edge after the other.
Routing in SUMO network vs. explicit JuPedSim areas#
We let a second stream start at the source edge but lead them to another goal. We want to let them disappear in the top-left building – so we create an edge as target in the left building. We define the route analogously to the previous flow: add another flow to the source edge, create a person trip and a person plan.
You will notice in the simulation results that the traffic lights are not considered by the JuPedSim agents.
This is because the agents are still in JuPedSim routing mode, are not aware of the "rules" in the SUMO network, and choose their next goal only based on the shortest path. SUMO routing is only enabled between two edges that are part of the SUMO network. Therefore, we need to add more edges in the route plan: one when entering the SUMO network, and one when leaving.
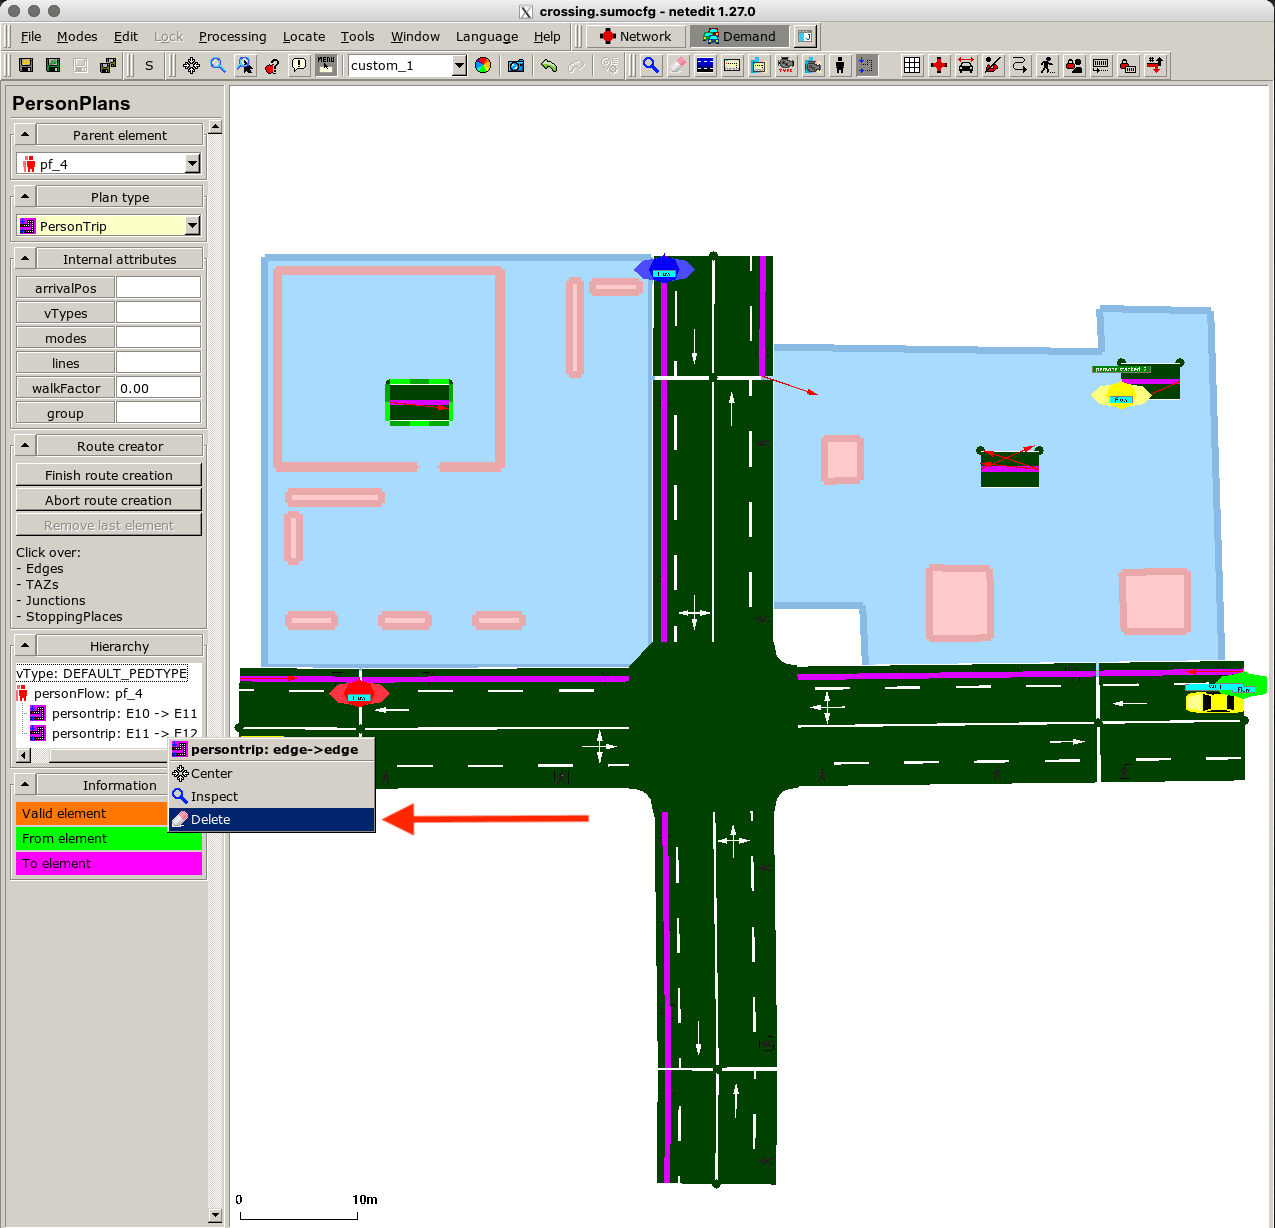
You can do this by adding more person trips in the Person plan mode for flow “pf_4”. Firstly, delete the last person trip (right-click on the element in the list).
Add new person trips by clicking on the start edge, the end edge, and pressing Enter. Then repeat this for the remaining connection of edges.
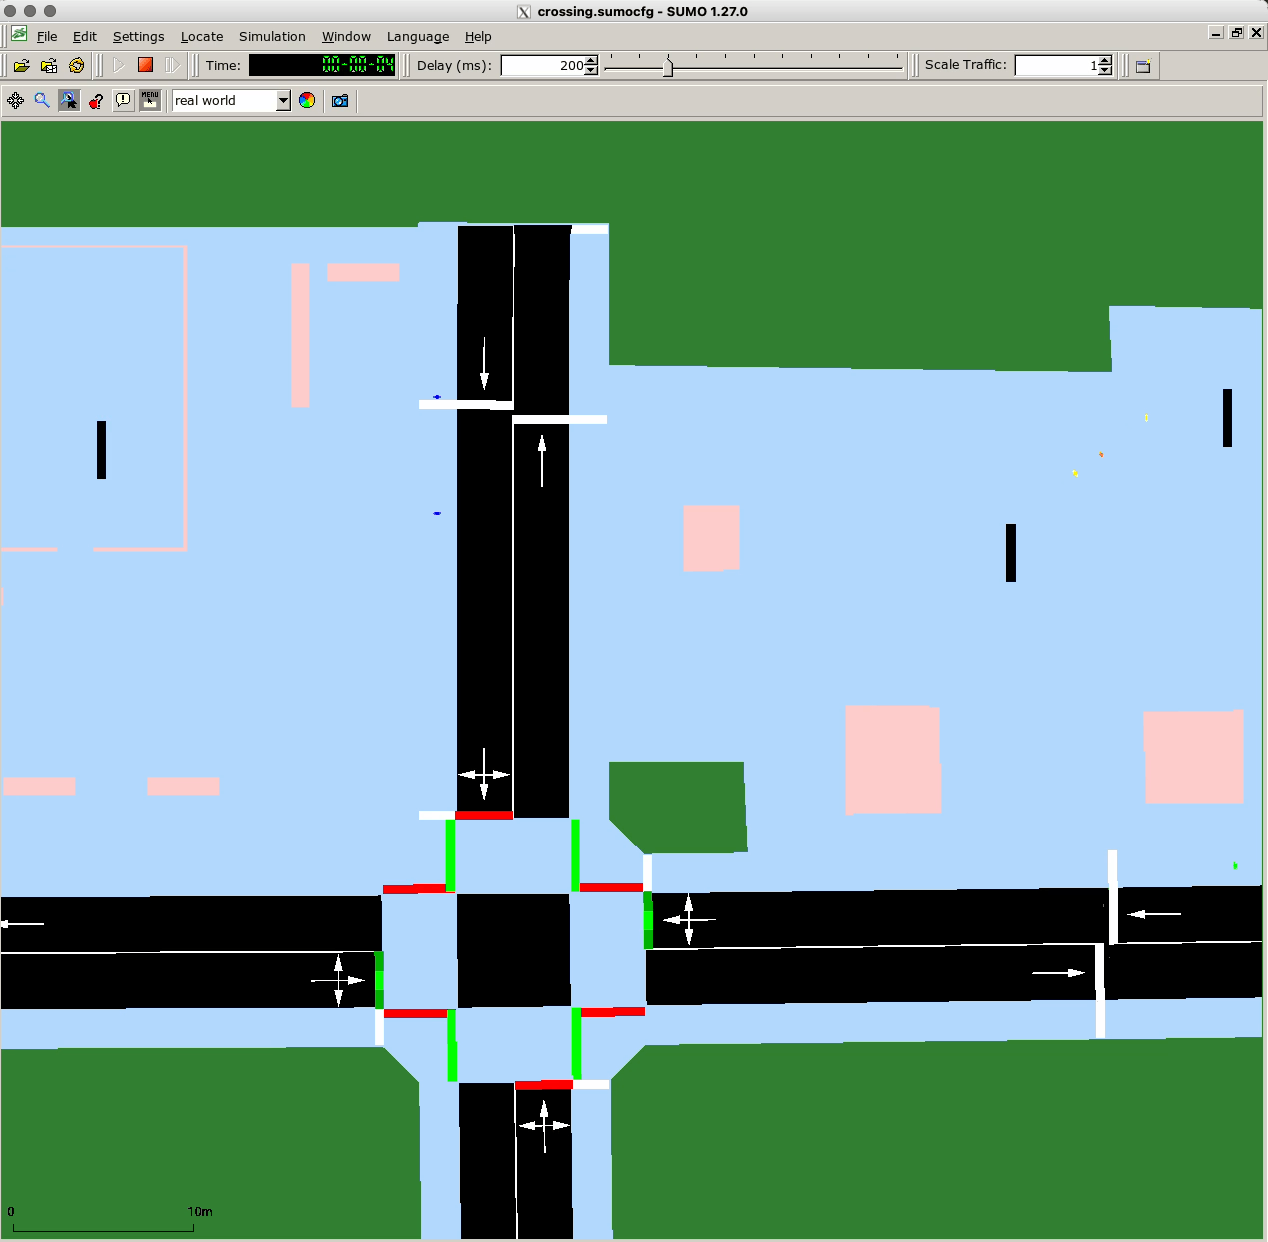
If you run the simulation again, you can see a different behavior of the agents. They wait at the traffic lights. Also, their actual chosen route is different as they target the center of a SUMO edge when they enter/leave the SUMO network.
The routing is according to the following logic: JuPedSim source > shortest path to JuPedSim waypoint > shortest path to SUMO edge (center) > SUMO routing to SUMO edge (center) > shortest path to JuPedSim exit.
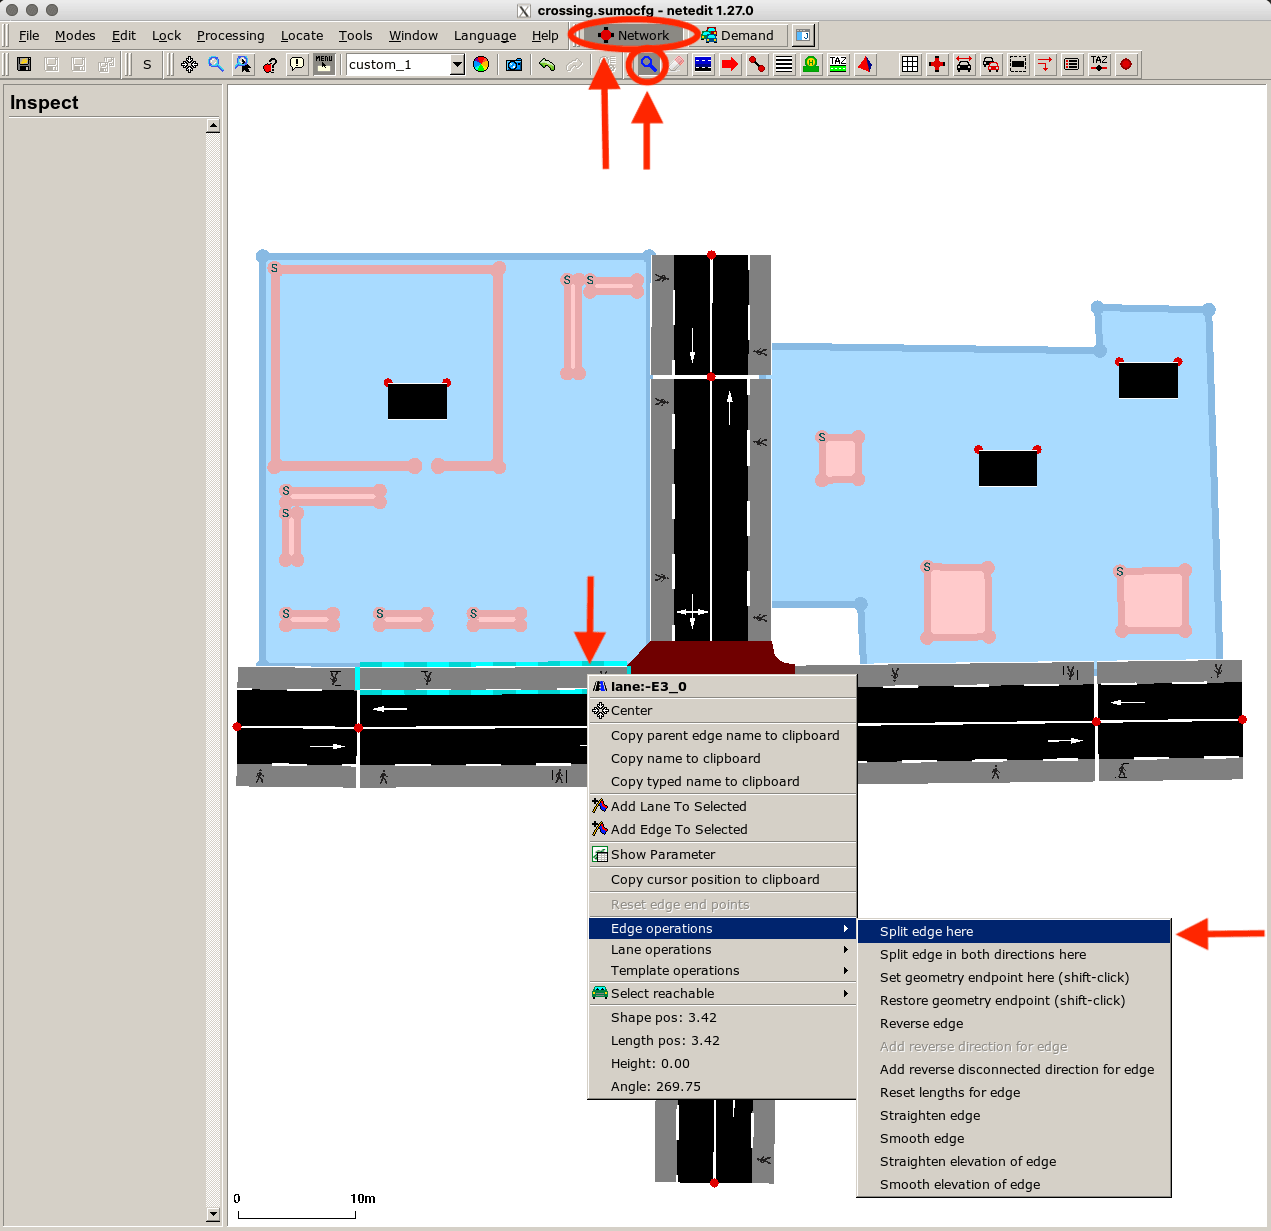
If you want to modify the transition from SUMO to JuPedSim routing, you can split an edge to create several edges to choose from. In the Network supermode, enable the Inspect mode and right-click on the edge where it should be split. Split the edge via Edge operations > Split edge here. Now you have created another edge that can be used as a part of the journey.
Adapt the person plan accordingly using the newly created edge as intermediate goal before reaching the building. Then the simulation result should look like this:
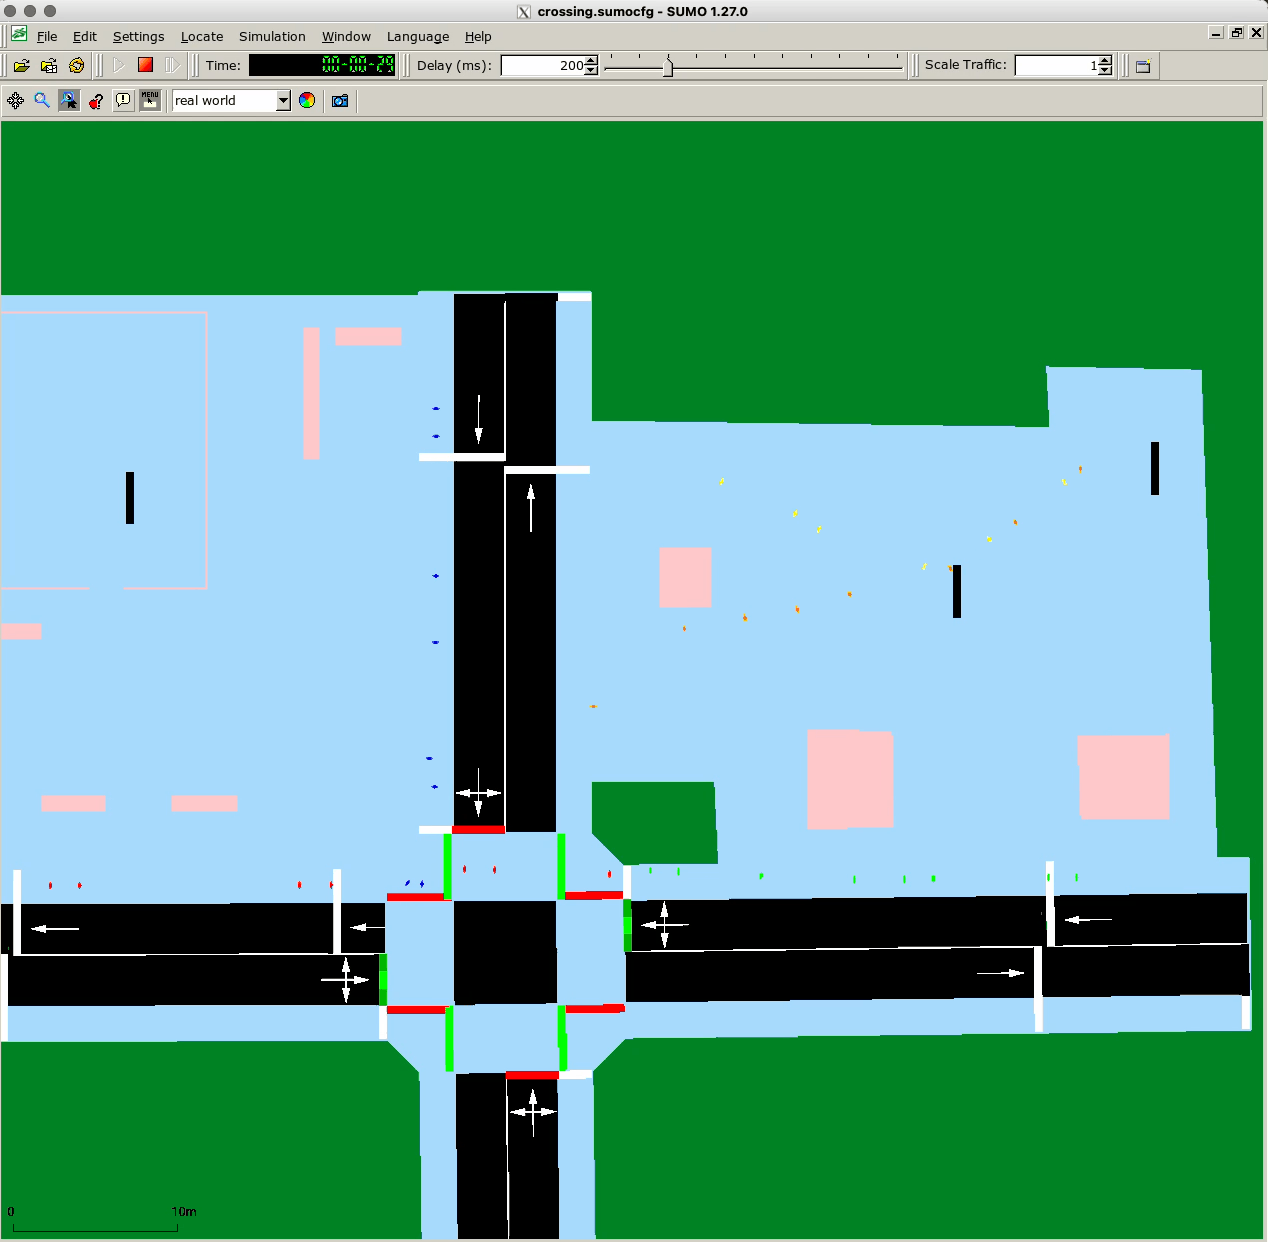
You can see a different behavior of the flow “pf_4” (orange) after they've passed the crossing and moved to the building.